
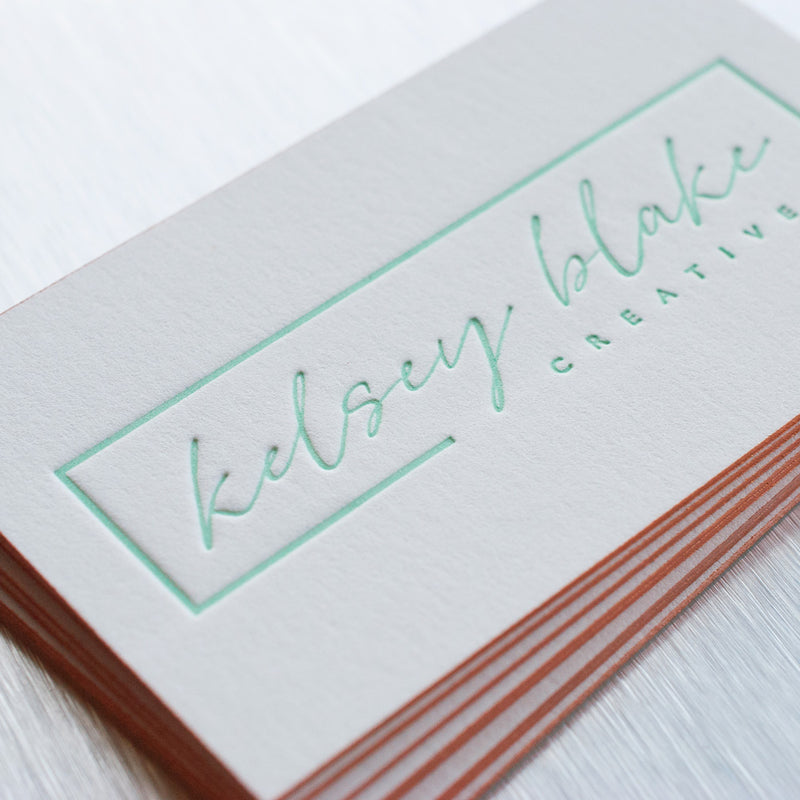
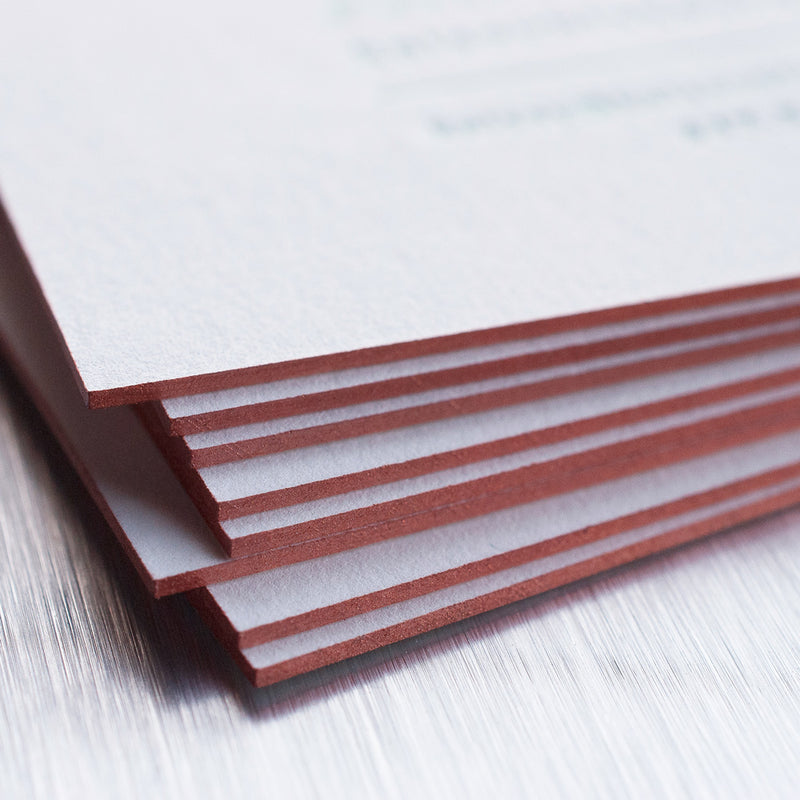
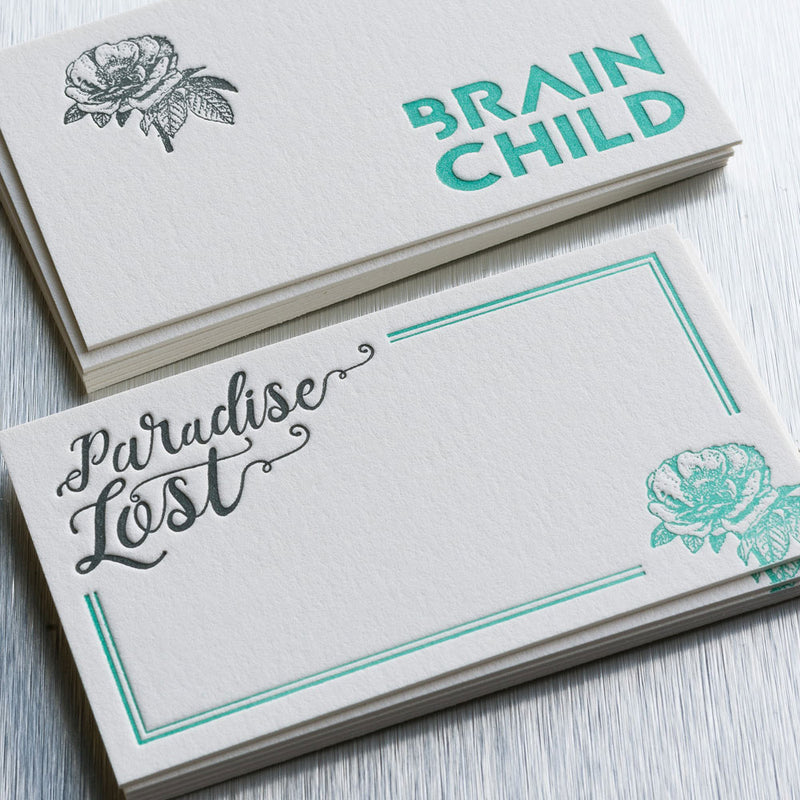
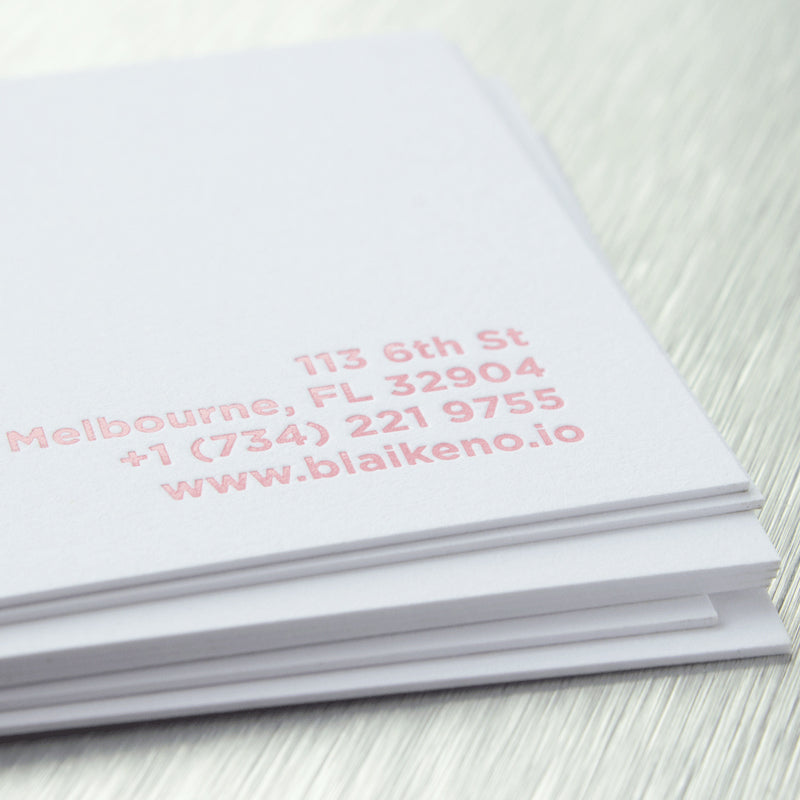
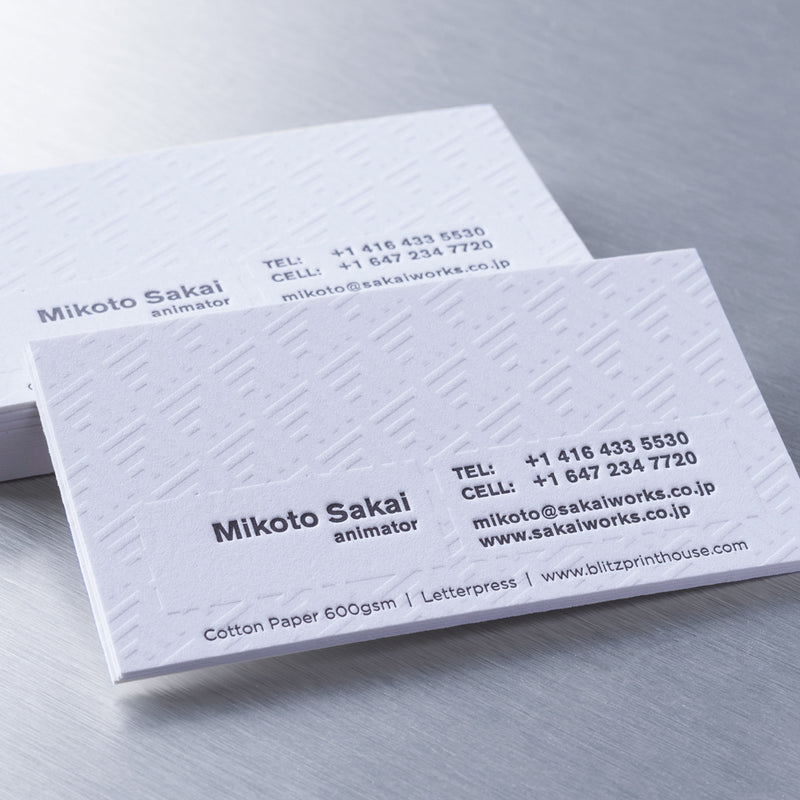
Letterpress Cards
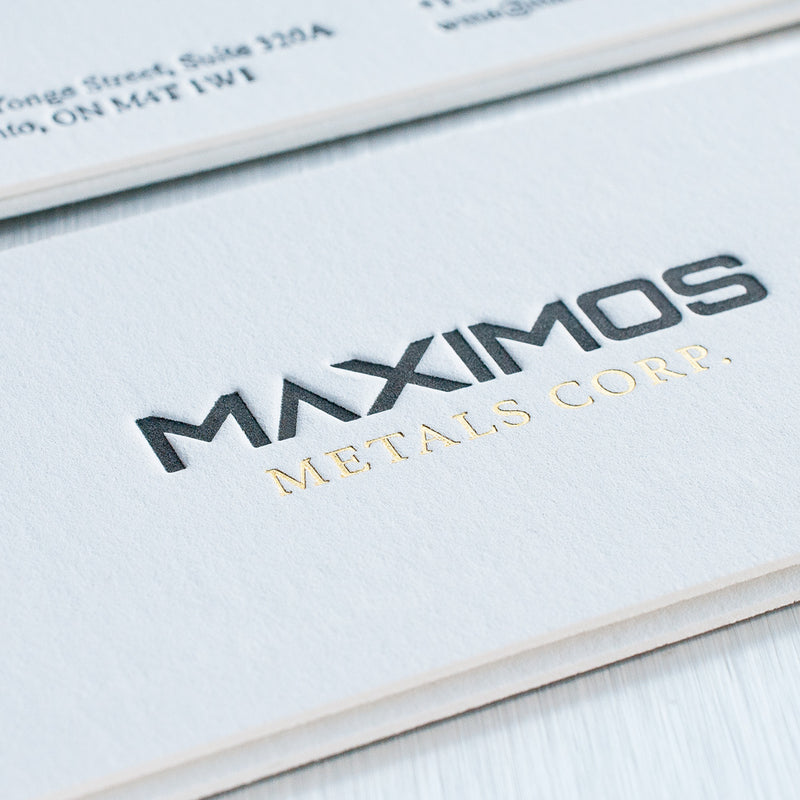
Working from your design, we create a unique die for use with our Heidelberg Press. This presses down on the paper to apply an indent while inking. You end up with an inviting and textured business card that suggests both subtlety and sophistication. Our hands-on technique for creating Letterpress business cards is firmly rooted in our artisanal values. You won’t find Blitz’s signature craftsmanship anywhere else in Toronto.


Size Options
We offer our business cards in various sizes to choose from!

Standard
3.5"x2" |

Square
2.25"x2.25" |
 
Mini
3.5"x1.5" |

European
3.3"x2.1" |
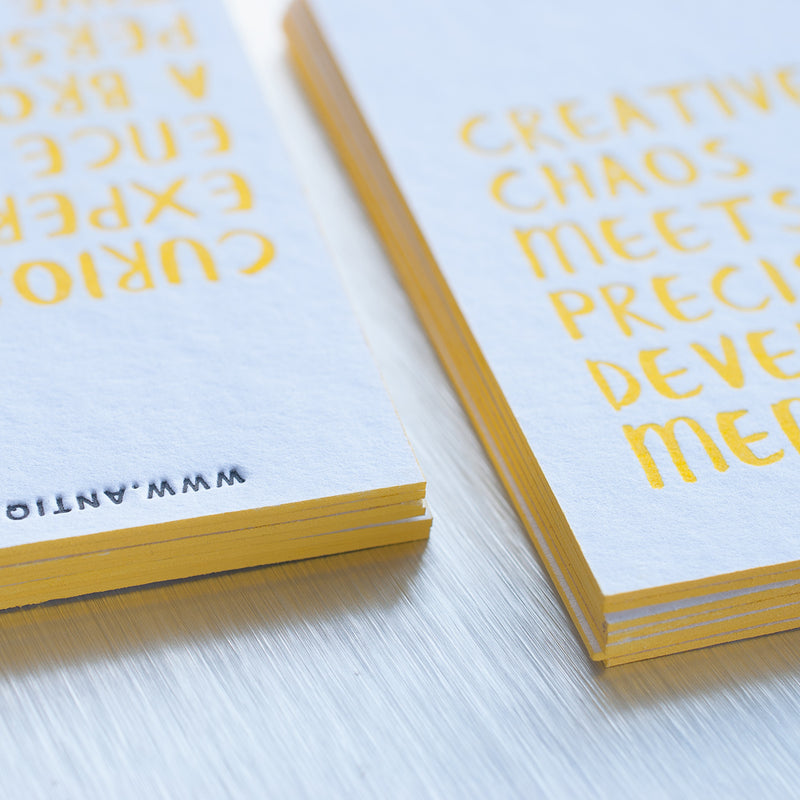
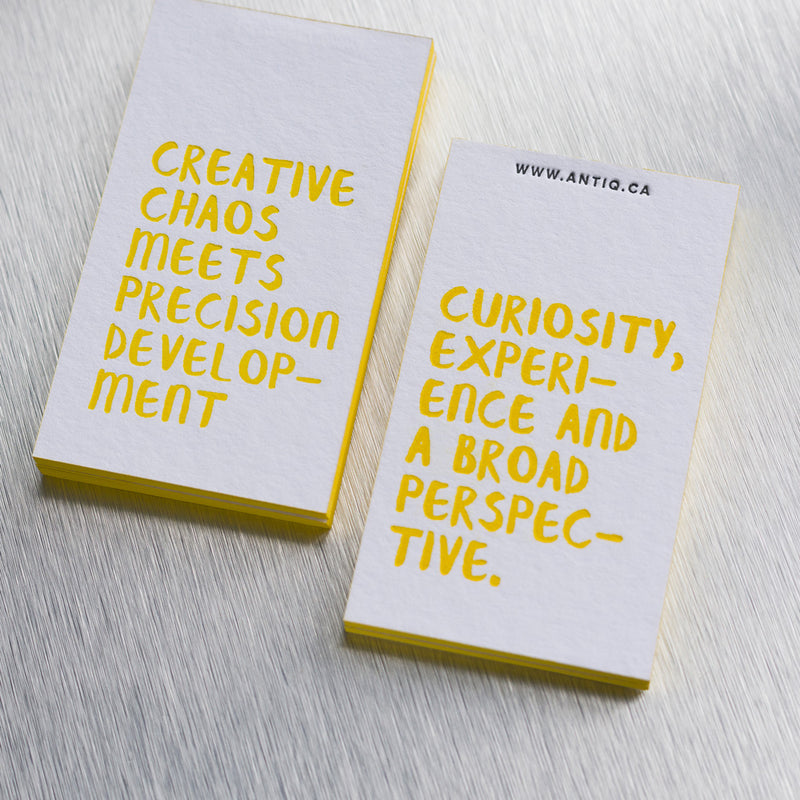
Finishing Options
Choose from our various finish options to give your cards more character

Rounded Corners


How to setup your file for Foil, Letterpress, Spot UV in Illustrator
How to set up a file correctly for Foil, Letterpress, Spot UV printing in Photoshop
Design Support
We offer a variety of design support services ranging from,
simple text information updates, to designing logos to help jumpstart your brand.

DESIGN GUIDELINE
We also offer Blank Templates for you to place your files and check to see if they comply with our Design Guidelines.
TIP 1 – SIZE
Please submit the files at the correct size as the product you are ordering. For example, if you ordered a 3.5″ x 2″ business card, submit a 3.5″ x 2″ image.
If you artwork has a bleed (see Tip 3), the file should be 0.25″ taller and 0.25″ wider than the product specs, for example the file for a 3.5″ x 2″ business card with bleed should be 3.75″ x 2.25″.
Do not send them on a larger artboard. For example don’t put a 3.5″ x 2″ business card design on a 8.5″ x 11″ page.
Do not put two images on the same page, keep in separate pages.

TIP 2 – SAFE AREA
The “safe area” is defined as the space that is at least 0.125″ away from the edge on all sides inwards.
This area is where your important content should go. Make sure any text or sensitive information is contained in the area, otherwise there is a possibility of it being too close to the edge or risk of being trimmed off.
Please have the safe area be at least 0.125″ away from the edge on all sides

TIP 3 – BLEED AREA
The “bleed area” is defined as the area that is at least 0.125″ away from the trim line outwards.
This area is where you should extend your background colour/image to. It provides extra graphic so that when we trim, the background will fully extend to the edges without any white space. Note that everything in this area and beyond will be trimmed away.
For example: if you are ordering a 3.5″ x 2″ business card with a background, you must submit a 3.75″ x 2.25″ file with the background extended to all the edge on all sides.
If you have elements that extend to the edge or past it, you need to include a bleed.
If you have a blank/white background, you may ignore this tip.

TIP 4 – RESOLUTION
When supplying files, please ensure they have enough resolution for a high quality print.
If you designed your image in a vector program, such as Illustrator, and exported the image as a PDF, you may ignore this tip as vector images have infinite scalability and is exempt from resolution issues.
If you designed your image in a raster program, such as Photoshop, make sure your resolution is set to 300dpi and text layers are not merged.

TIP 5 – BORDER
We do not recommend having a border around the edge as even the slightest trimming imperfections will make the product look off-centred.
If a border must be included, we recommend making it as thick as possible and no less than 0.25″ thick.

Size Options
We offer our business cards in various sizes to choose from!
|
Standard
3.5"x2" |
Square
2.25"x2.25" |
Mini
3.5"x1.5" |
European
3.3"x2.1" |
Finishing Options
Choose from our various finish options to give your cards more character
Rounded Corners
How to setup your file for Foil, Letterpress, Spot UV in Illustrator
How to set up a file correctly for Foil, Letterpress, Spot UV printing in Photoshop
Design Support
We offer a variety of design support services ranging from,
simple text information updates, to designing logos to help jumpstart your brand.
DESIGN GUIDELINE
We also offer Blank Templates for you to place your files and check to see if they comply with our Design Guidelines.
TIP 1 – SIZE
Please submit the files at the correct size as the product you are ordering. For example, if you ordered a 3.5″ x 2″ business card, submit a 3.5″ x 2″ image.
If you artwork has a bleed (see Tip 3), the file should be 0.25″ taller and 0.25″ wider than the product specs, for example the file for a 3.5″ x 2″ business card with bleed should be 3.75″ x 2.25″.
Do not send them on a larger artboard. For example don’t put a 3.5″ x 2″ business card design on a 8.5″ x 11″ page.
Do not put two images on the same page, keep in separate pages.
TIP 2 – SAFE AREA
The “safe area” is defined as the space that is at least 0.125″ away from the edge on all sides inwards.
This area is where your important content should go. Make sure any text or sensitive information is contained in the area, otherwise there is a possibility of it being too close to the edge or risk of being trimmed off.
Please have the safe area be at least 0.125″ away from the edge on all sides
TIP 3 – BLEED AREA
The “bleed area” is defined as the area that is at least 0.125″ away from the trim line outwards.
This area is where you should extend your background colour/image to. It provides extra graphic so that when we trim, the background will fully extend to the edges without any white space. Note that everything in this area and beyond will be trimmed away.
For example: if you are ordering a 3.5″ x 2″ business card with a background, you must submit a 3.75″ x 2.25″ file with the background extended to all the edge on all sides.
If you have elements that extend to the edge or past it, you need to include a bleed.
If you have a blank/white background, you may ignore this tip.
TIP 4 – RESOLUTION
When supplying files, please ensure they have enough resolution for a high quality print.
If you designed your image in a vector program, such as Illustrator, and exported the image as a PDF, you may ignore this tip as vector images have infinite scalability and is exempt from resolution issues.
If you designed your image in a raster program, such as Photoshop, make sure your resolution is set to 300dpi and text layers are not merged.
TIP 5 – BORDER
We do not recommend having a border around the edge as even the slightest trimming imperfections will make the product look off-centred.
If a border must be included, we recommend making it as thick as possible and no less than 0.25″ thick.

